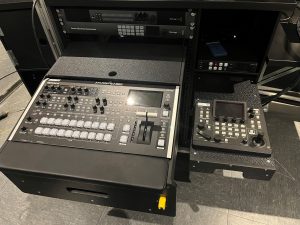
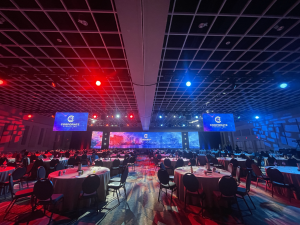
- A video switcher is a powerful way to get multiple sources into your livestream.
- Keyers are workflows where users can adjust the image to remove a certain color or area.
- PIP is the method of placing two video sources in the same image at the same time.
- Cuts, fades, and multiple angles are tools to help create engaging video composition.
- Audio is a major consideration when it comes to livestreaming audio.
I began my livestreaming efforts in the fall of 2011. I’d just started teaching and was looking to find ways to change the world. I found the best way to get people to know who I was, was to make sure everyone could watch sporting events for the schools I served. It was a challenge because the technology was so new. Truthfully, there was nowhere to turn for help other than trial and error.
The Early Days
As you can see in the photo, my early equipment consisted of simply a laptop on a trashcan, but that wasn’t enough for me. Call it bravado, ignorance, or sheer ego but I wanted to do more. I wanted our broadcasts to look like what people saw on ESPN.
The challenge then became how to do that on a high school budget, skill set, and timeframe. We needed a way to show multiple camera angles and share the whole story with the audience. I won’t forget the first time we did a multi-camera setup. It took an entire van load of equipment: the switcher, audio mixer, monitors, tables, cameras, mics, and what seemed like miles of cables.
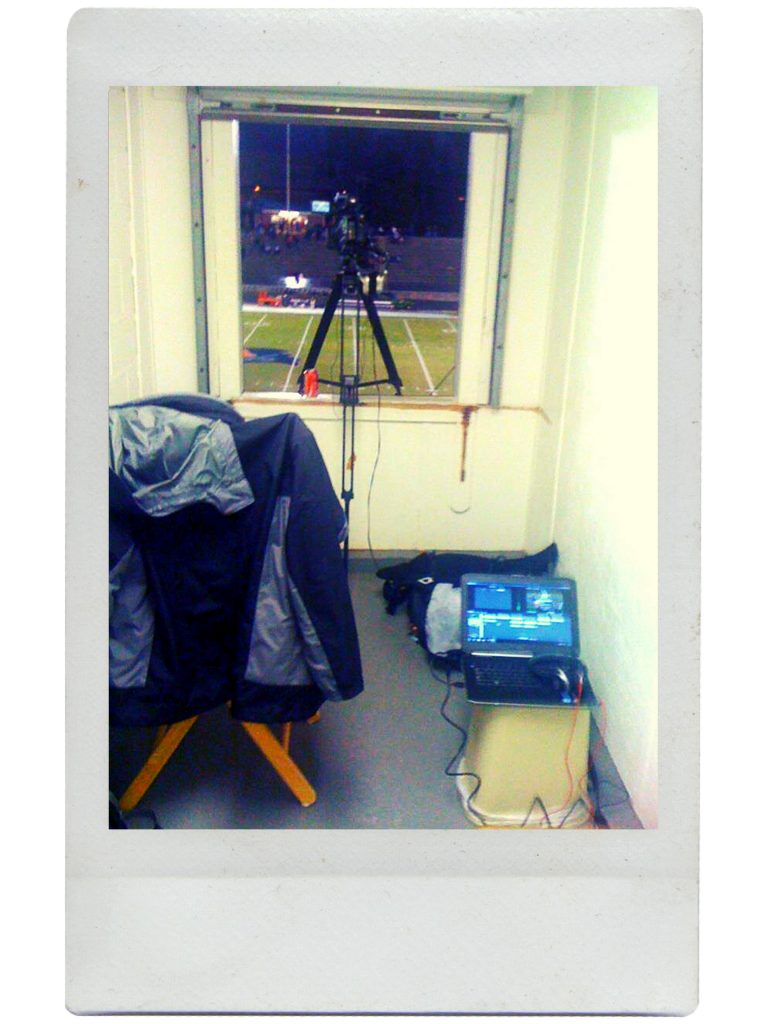
I won’t forget the first time we did a multi-camera setup. It took an entire van load of equipment
Switcher 101
Things are much simpler in terms of the necessary equipment now. Just looking back at the switcher in that photo is a shock. Today’s livestreaming switchers are the size of a shoebox whereas, in 2011, they were much larger.
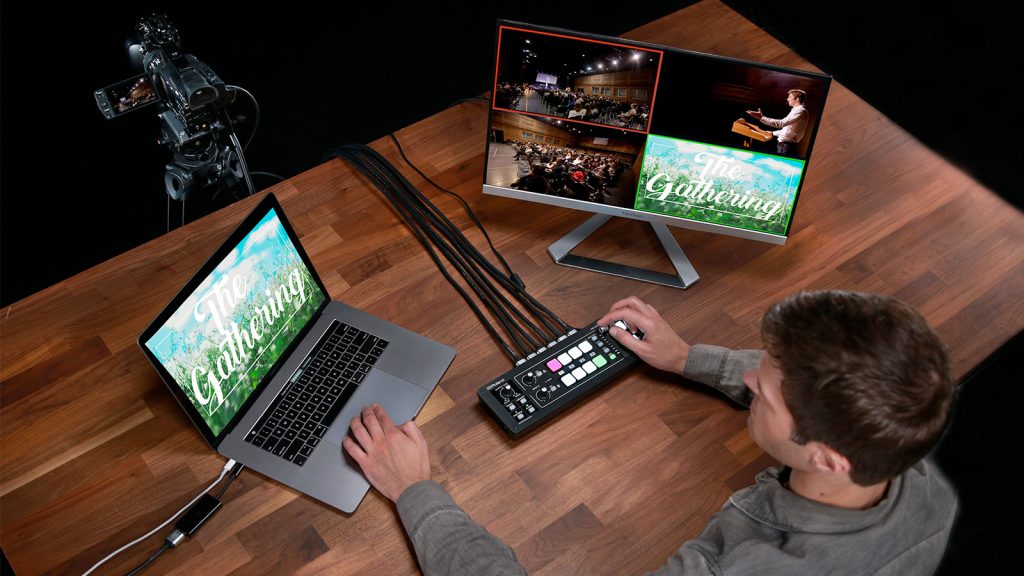
A video switcher allows users to input several video signals and view all the inputs before sending them to the program feed. You can composite your image before it goes out. Using the preview window, you can see exactly what the image will look like before the world views it. Your graphics, your camera angle, and even your chroma key are all there in the preview window.
A video switcher allows users to input several video signals and view all the inputs before sending them to the program feed.
Keyers
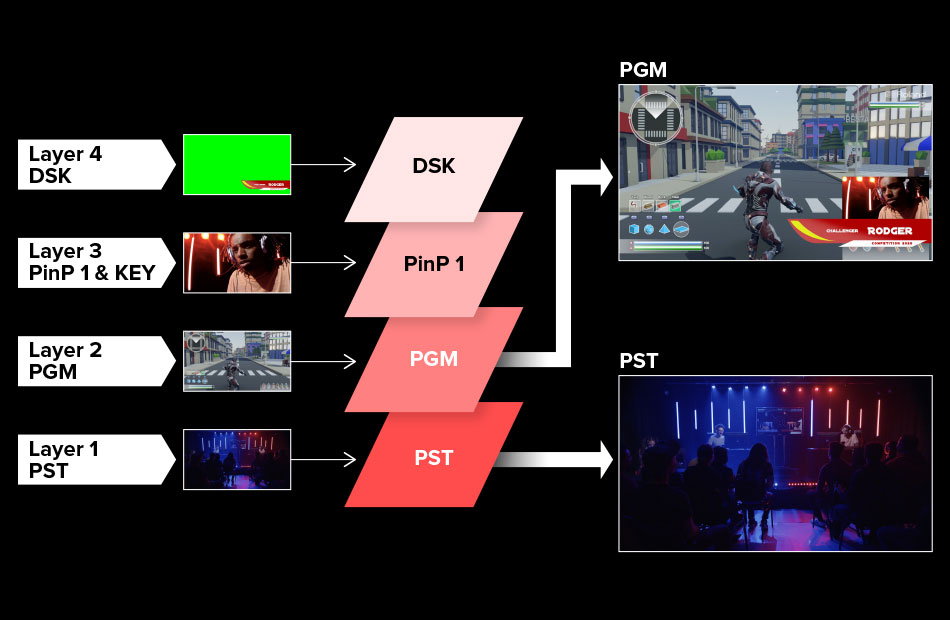
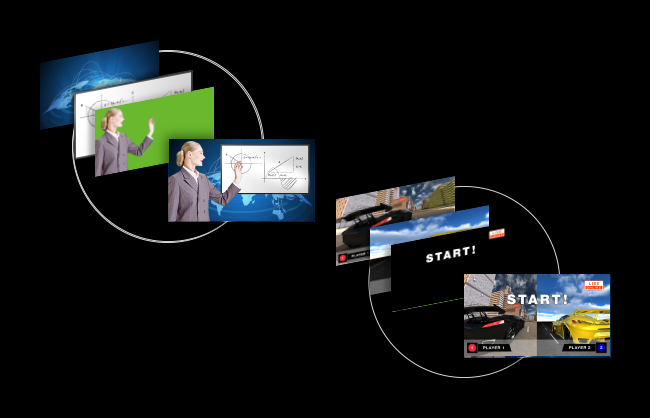
Chroma keys, or Keyers, are workflows where users can adjust the image to remove a certain color or area. For example, on most newscasts, the weather person is standing in front of a green or blue wall. Inside the switcher, the user removes that color and places another image in that area. In this case, that is weather maps.
PIP
Another great use for switchers is to compose PIP (picture in picture) images. PIP is the method of placing two video sources in the same image at the same time. Here’s another example from the news. Picture an anchor talking about a story while over their shoulder supporting video footage appears. This is a great way to enhance the final product, making it professional and engaging for the viewer.
PIP is the method of placing two video sources in the same image at the same time. It enhances the final product, making it professional and engaging for the viewer.
Cut and Fade
Once you’ve connected cameras and can see them on the monitor, the power of the video switcher reveals itself. Changing camera angles becomes an easy process. While each switcher has a unique workflow for compositing and sending video to the program feed, the overall process is the same. The workflow usually involves two choices: a cut or a fade. A cut is a hard transition between inputs whereas a fade is literally the fading between two sources. Occasionally, you may use the T-bar to manually control the fade but that isn’t something that most do regularly.
Angles Tell the Story
To operate the switcher, create the image you want in the preview window then send it to the world. The camera angles you choose depend on the story you are trying to tell. If you are shooting sports, there will be the main angle that you will use. This is usually a high middle angle or for baseball or softball—something that shows the pitcher/batter.
From there the different angles you use are as varied as you are creative and able to cover. The key to switching angles is to make sure the camera you go to adds to the story. The viewer only sees what you show them so you have to be very selective with your shots. Make sure that the live angle is the one that best tells the story.
The camera angles you choose depend on the story you are trying to tell. Make sure that the live angle is the one that does so best.
The Art of Composition
We’ve strategically used the term “compose” throughout. This is because the final product you send to your audience is a composition. You should be adding layers and effects to maximize your experience for your viewers. Typically, the elements you are adding are lower thirds for introducing someone on camera, scoreboards, or a PIP. Again, the workflow for every switcher is going to be a little different.
The overall process is that you make a plan for what you want to cover then set it up in the preview window as a part of the process. If you are doing a show for YouTube or TV, you may be shooting on a green screen. A professional video switcher makes keying that footage for the composition easy.
Audio is King
Another major consideration when it comes to livestreaming is audio. When I speak with my students about livestreaming, I joke that audio is 70% of the video. Too often, I tune in to a livestream that looks great and is well-switched. However, I’ll quickly tune out because the audio is either bad or non-existent. There are options for adding external audio mixers to the broadcast.
Still, many switchers now include an audio mixer in with the switcher. These audio mixers allow you to not only mix the sound coming from the cameras but also add a play-by-play announcer or other elements. All these aspects greatly improve the viewability of your final product.
Audio mixers allow you to not only mix the sound coming from the cameras but also add a play-by-play announcer or other elements.
Making the Right Choice
Selecting the right switcher for you is something that takes a lot of time and research. The biggest concern is always going to be the number of video inputs. My experience has always been to buy more than you think you need. I have never used a switcher for more than a year before thinking, “I wish I could plug in one more camera.”
The other thing to consider is how you are going to use the switcher. Today’s switchers are no longer solely for mixing video signals. They also mix audio, encode video, and serve as the streaming engine. If you already have a solution for livestreaming, buying a hybrid switcher may not be the answer for you. However, if you are doing a show where you have to stream and provide a video feed into a conference room or auditorium, your needs will be different.


