- It’s crucial to pinpoint your needs, understand your environment, and get familiar with basic audio principles.
- If you dedicate at least one microphone to each sound source, you’ll have more control over the mix.
- Effects like compression, limiting, and de-essing can help deal with plosives as well as enhance an audio mix.
- With multiple audio and video channels active, keeping them in sync is essential.
It’s common for most streamers to face technical difficulties. Sometimes the stability of the Wi-Fi connection is to blame. Other times the equipment can’t handle the workload. But even those who have the best setup can struggle with audio issues. If you’re just starting, it’s crucial to pinpoint your needs, understand your environment, and get familiar with basic audio principles.
For many musicians, podcasters, and web presenters, livestreaming is now a part of daily life. After all, it’s never been easier to broadcast than it is today. But doing it at a high level requires some know-how.
Understanding Microphones
USB microphones have come a long way. They’re practical and work well. What’s not to love? Still, there is a limited set of options in that realm. That’s why pro audio engineers prefer XLR microphones. But how do you pick the right one? Should you buy a handheld dynamic microphone? Or is it better to invest in a high-end condenser?
Large-diaphragm condenser microphones are best for recording purposes in quiet and acoustically-treated rooms. If you already own one, it wouldn’t hurt to try it out in a livestreaming setting. Just make sure that you choose the cardioid pattern to narrow down its focus, and you’ll be good to go.
But let’s face it–such sensitive microphones can also work against you. Do you want the microphone to pick up all the noise in the room? Because that’s what most large-diaphragm condenser microphones do!
Many broadcasters use lapel mics to combat this issue and look good on camera. But did you know that those tiny mics pick up all the rustling sounds every time you make the slightest move? No wonder news anchors sit so still. This is why podcasters and musicians consider the Shure SM7B an industry standard. It’s a sturdy microphone that’s sensitive enough to amplify your voice and ignore most other sounds around.
USB microphones have come a long way. They’re practical and work well. Large-diaphragm condenser microphones are best for recording purposes in quiet and acoustically-treated rooms
Taking Out Plosives at the Source
What’s great about microphones such as the Shure SM7B and Roland’s CGM-30 is that both come with foam screens. Foam mic covers, aka windscreens, are great for reducing the impact of pesky “p” and “b” sounds you want to eliminate. In a studio environment, most engineers use pop filters, because they do the job without affecting the timbre of the sound. But no one wants a pop filter covering up their face during a livestream.
Eliminating Environmental Noises
After you pick your interface, microphones, and accessories such as XLR cables and mic stands, it’s time to test out a few locations. If you’re working out of an acoustically-treated room or a professional isolation booth, you won’t have to worry about environmental noise. But even if you can’t afford to invest any further, you can still achieve a clean sound by paying attention to a few details.

For instance, does the room have a window facing a busy street? Is the AC loud enough for your viewers to hear it? Before purchasing a bunch of acoustic foams to hang on your walls, you should solve the most common problems that muddy up the mix. Another matter to consider is the size of the room. If you stream from a large room with only a few pieces of furniture in it, you’ll hear your voice reverberating. That might sound good to you, but it most likely won’t translate well to your audience.
The Perfect Location
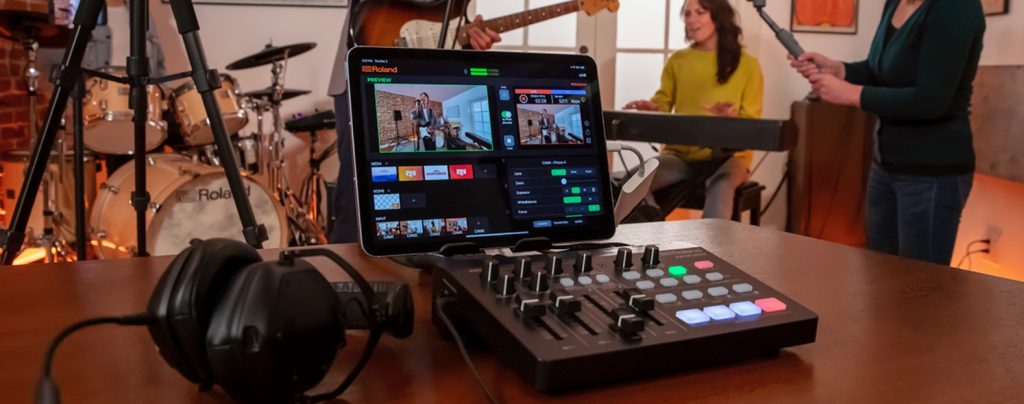
If all else fails, the echo cancel feature in the companion app of your Roland switcher can come in handy. But remember: the goal is to achieve the cleanest audio transmission possible, right at the source. If you want reverb, you can always add an artificial one on top. Most of the Roland switchers offer time-based audio effects to help you set the mood.
As you contemplate the perfect location for the job, take a look at your headphones as well. In-ear headphones can look and sound great. If you’re a gamer, you might already own a headset that works for you. Just make sure that you steer clear of open-back headphones. While they’re great for critical listening, any sound bleeding out of them can get picked up by the microphones in the room. Instead, use a closed-back pair for your livestreams.
As you contemplate the perfect location for the job, take a look at your headphones as well.
Getting Volume Levels Right
Whether you put on a panel discussion or musical performance, one of the biggest challenges you’ll be up against is the fluctuations in volume. With the gain parameters on your interface, you can encapsulate a wide dynamic range within healthy limits.
If you don’t know much about mixing, start by relying on your ears. Set the volume of your headphones at a comfortable level and play with the gain knobs as you observe the changes. You’ll notice that when you turn the gain up too high, the sound doesn’t only get loud, but also distorted. Turning the gain down too much is also not ideal since you don’t want your viewers to resort to lip-reading.
Test the parts that are the quietest and loudest in your performance to lock in gain levels that work for each input. Then, adjust the volume faders to mix. Feeling adventurous? Try experimenting with the compressors and limiters in your Roland switcher companion app. With a limiter, you can set a volume barrier as an insurance policy. If you set the output of the limiter to 0 dB, for example, the sound will never reach beyond that level.
With a compressor, you can achieve a balanced consistency in volume. If you set the threshold to -20 dB, the compressor will reduce the volume of the performance each time it goes beyond that level. Depending on the ratio you choose, you can also determine how hard the compressor works. The higher the ratio is, the lower the high-volume peaks will be.
Test the parts that are the quietest and loudest in your performance to lock in gain levels that work for each input. Then, adjust the volume faders to mix.
Polishing with Audio Effects
After the volume is under control, some artifacts may become more pronounced. Suddenly, you notice a low rumbling noise in the background. Maybe you start singing and can’t ignore the harshness every time you utter a word that contains a strong “s” sound.
With effects like EQ and de-esser, you can put the finishing touches on your live sound. Some Roland switchers even come with automatic de-esser buttons. Unlike a simple de-esser or a low cut button on your switcher, the parametric EQ in the Roland companion app might seem like an empty canvas you don’t know what to do with at first. But really, manipulating it is not much different than playing with the bass and treble levels in your car’s sound system.
When you look at a parametric EQ, picture the bass living on the far left and treble to the right. It’s completely up to you how much of the low, middle, or high register of each sound source you turn up or down. Let’s say you’re livestreaming a podcast. You can confidently cut all the frequencies below 90 Hz to eliminate some bass-range environmental noises. This won’t interfere with the integrity of your performance. As you practice, you’ll develop methods to further polish your live sound.
Everything in Sync
When you have multiple audio and video channels active at once, keeping them in sync can be a challenge. Luckily, this is an area where Roland switchers excel, with a few added perks. Sometimes in a large conference call, the video switches to the person who is actively speaking. Now picture that scenario during a livestream. You could automate your switcher to have the audio follow video throughout the livestream or vice versa. Some Roland livestreaming devices even come with an auto-switch button.
If you need more help on the switching front, check out the VR-1HD. With its ingenious beat-sync switching technology, it automatically mixes the visuals based on the tempo of your music.
If you’re a musician who needs multiple microphone inputs, take a closer look at the AeroCaster or VR-1HD.
Knowing Your Sources
Let’s say you’re happy with the built-in camera on your laptop, but the audio quality is subpar. You often use Zoom or WebEx for your video conference calls and panel discussions. You could utilize a simple device like the UVC-02 Web Presentation Dock and a gooseneck microphone.
With its user-friendly layout and companion app, UVC-02 offers plenty of processing options. This makes it a suitable choice for podcasters as well. But if you’re a musician who needs multiple microphone inputs, take a closer look at the AeroCaster or VR-1HD.
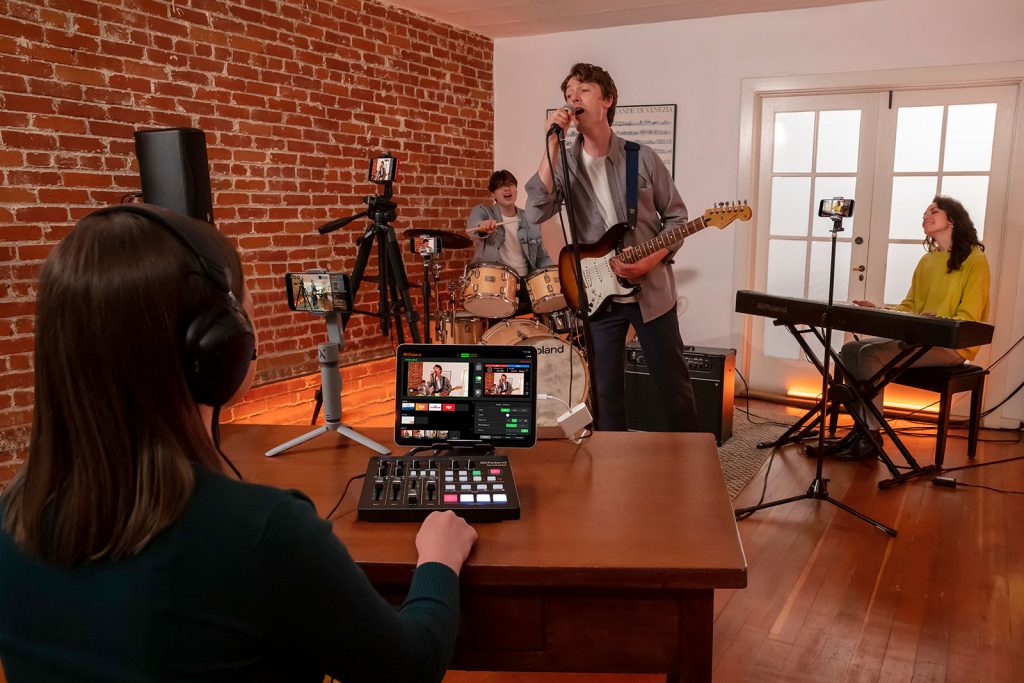
Essentially, livestreaming is similar to putting together a performance on stage. A singer-songwriter with an acoustic guitar can perform fine with one strategically-placed microphone. But wouldn’t everyone in the audience hear the music better if the guitar and vocal got miced separately? The same principles apply to livestreaming. If you dedicate at least one microphone to each sound source, you’ll have more control over the mix.
Essentially, livestreaming is similar to putting together a performance on stage. If you dedicate at least one microphone to each sound source, you’ll have more control over the mix.

Choosing the Right Platform
The final step is finding the right broadcasting software. With an app like OBS Studio, you can livestream without degrading the quality of the sound you’ve worked so hard to improve. From there, take your pick. Platforms such as YouTube, Instagram, Twitch, and Facebook will help you reach a wide audience. While on Vimeo, your viewers may enjoy the quality of your livestream a bit more.
The good news is that nowadays, there’s a suitable livestreaming platform for every purpose. Once you figure out the details of your setup, you’ll feel confident about putting on a great show every time, regardless of which platform you stream on.
Roland AeroCaster

The Roland AeroCaster system makes livestreaming easy using devices you already own to create dynamic productions. With just an iPad and a few mobile phones, the Roland AeroCaster system will have you wirelessly switching and streaming on your favorite platform in minutes. To find out how easy livestreaming can be, sign up for our Roland AeroCaster email series below.


