


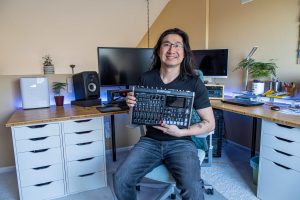
Owen Zhou gives an in-depth look at his business, shares, offers tips, and reveals why the Roland VR-6HD is essential to his workflow.

Lorenzo Romeo of FILLandKEY shares details about working on a high-profile show and how a pair of Roland VR-400UHDs help fuel production.
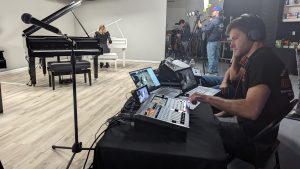
A Roland A/V expert took the VR-120HD for a spin during a grand piano livestream. Learn how the all-in-one AV mixer helped the broadcast.