- Twitch is an excellent place to grow a livestreaming audience, with high-fidelity audio and an ever-growing community of users from gaming to entertainment and beyond.
- Roland Live Streamer and OBS are two options to help with livestreaming content to Twitch with your PC.
After months—perhaps years—of planning and preparation, it’s finally time to do it. You’re ready to livestream to Twitch and connect with the audience you know is there for your content. But before you can begin delivering that polished programming, you have to get set up. Well, we’ve got you covered. This step-by-step guide will walk you through the process of livestreaming to Twitch with your PC from start to finish.
Livestreaming Setup
A streaming platform is a computer-based service that allows you to connect and livestream. The type of platform you pick will correspond to your streaming needs. You’ve chosen Twitch because it meets the specific requirements of your content. Here are the steps to get you started streaming on Twitch.
STEP 1: Go to Twitch.tv.
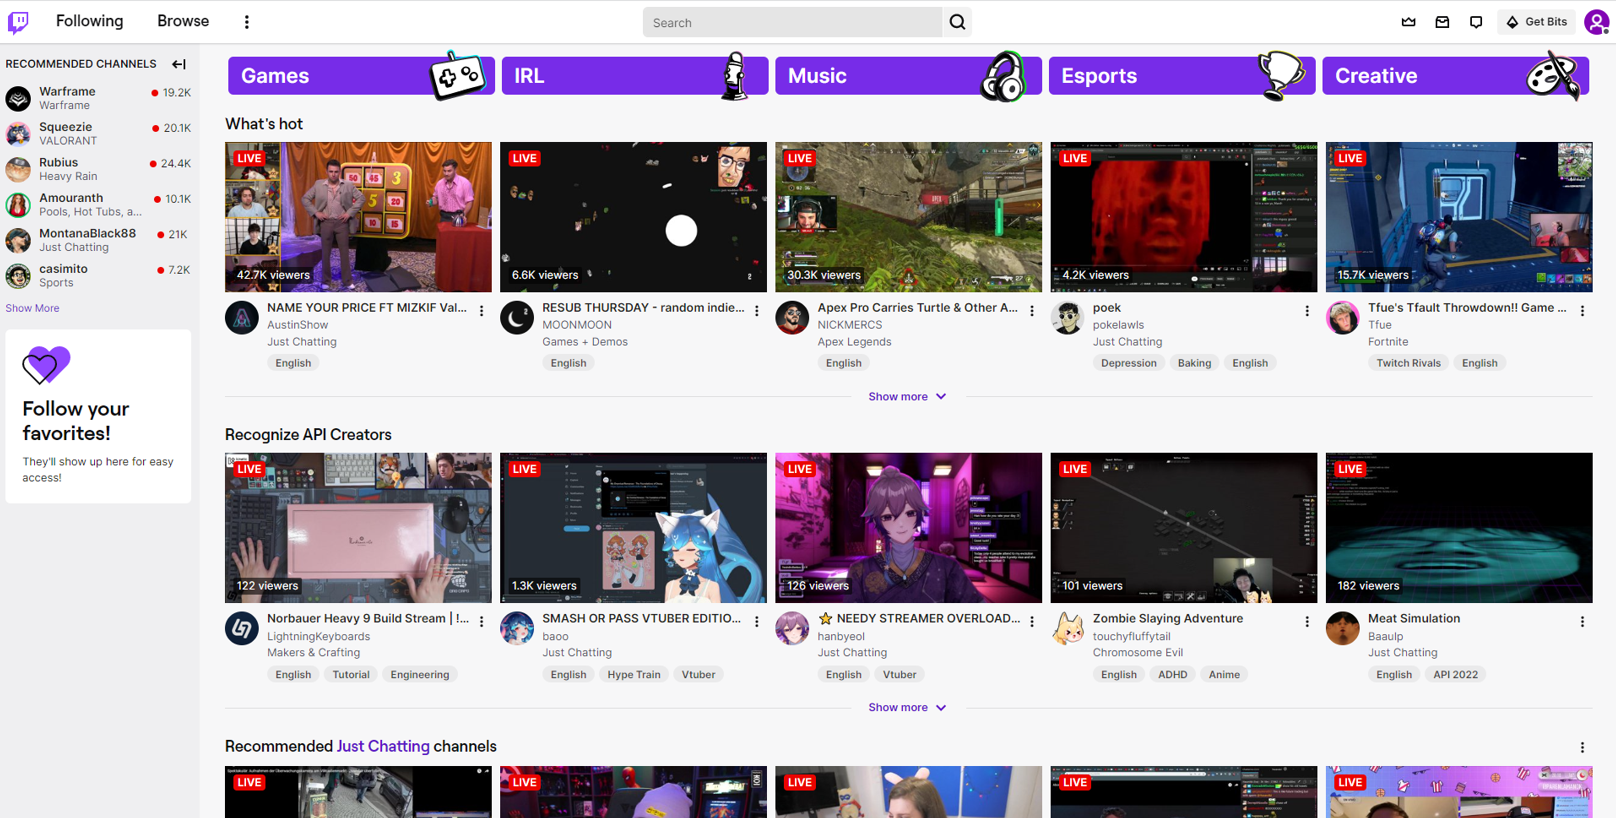
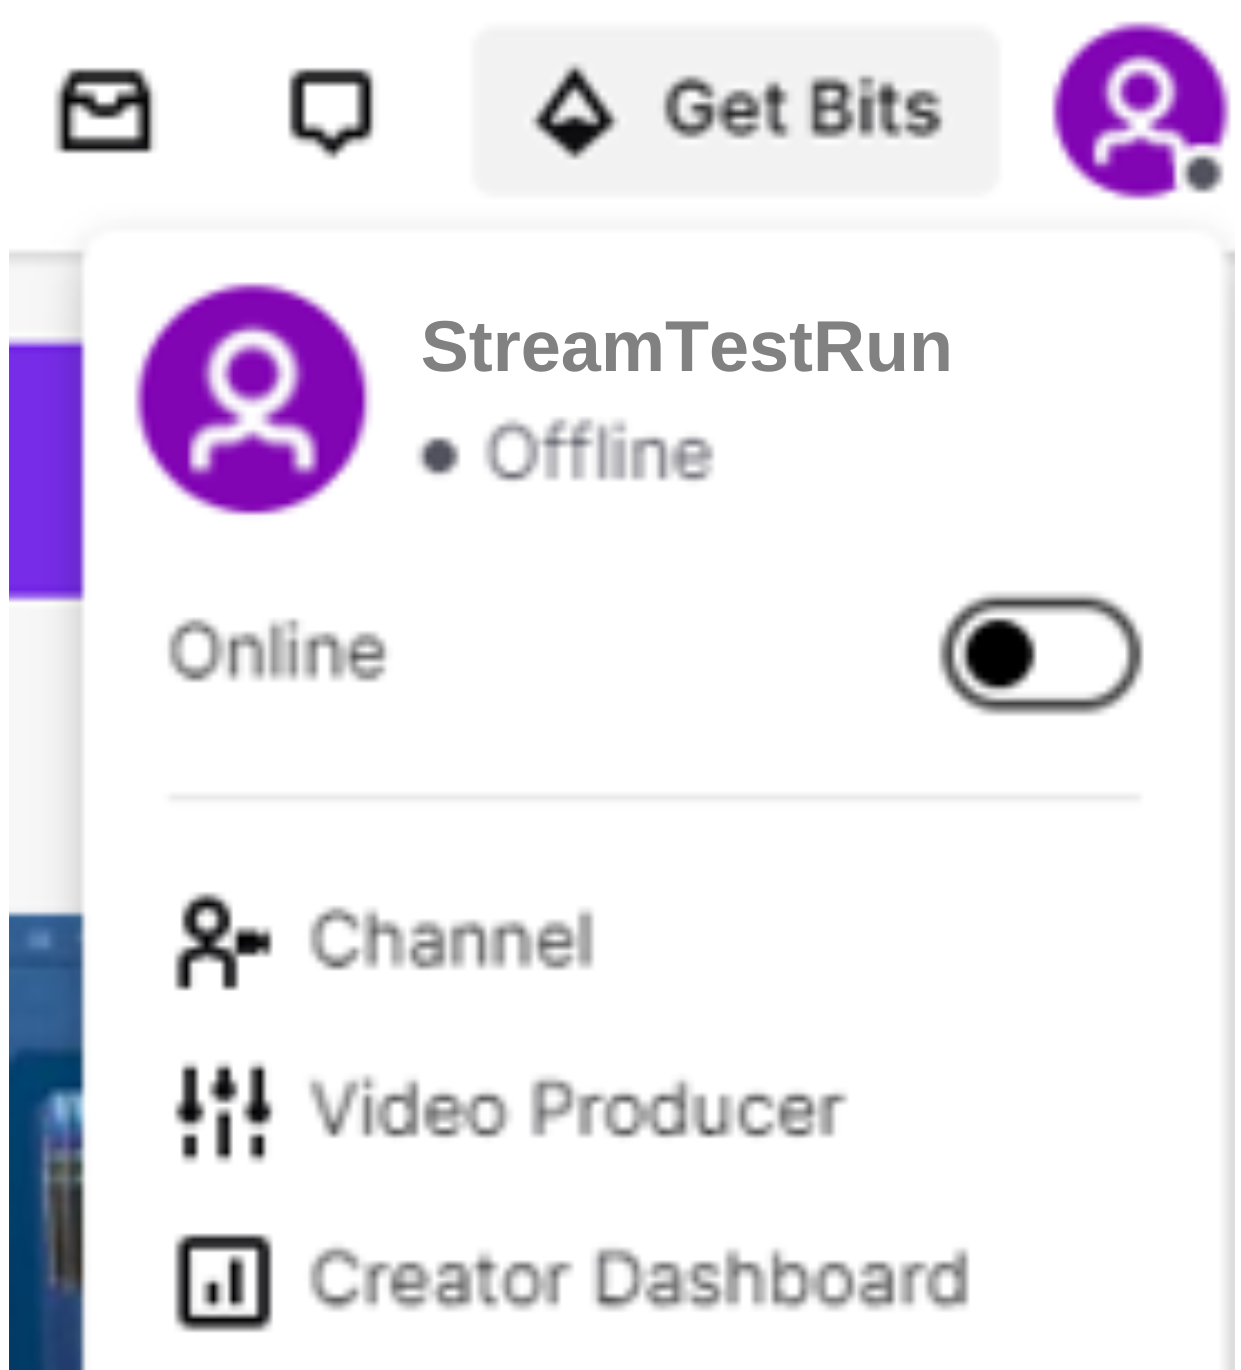
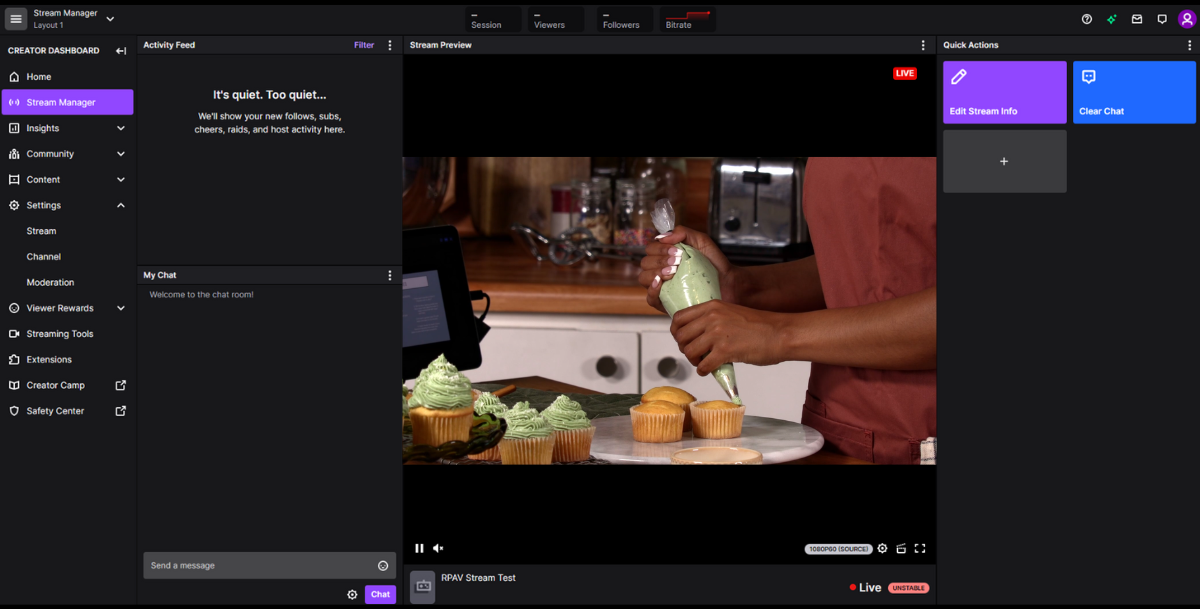
STEP 2: Click the Profile icon on the top right of screen, and then click “Creator Dashboard.” This will open the Creator Dashboard.
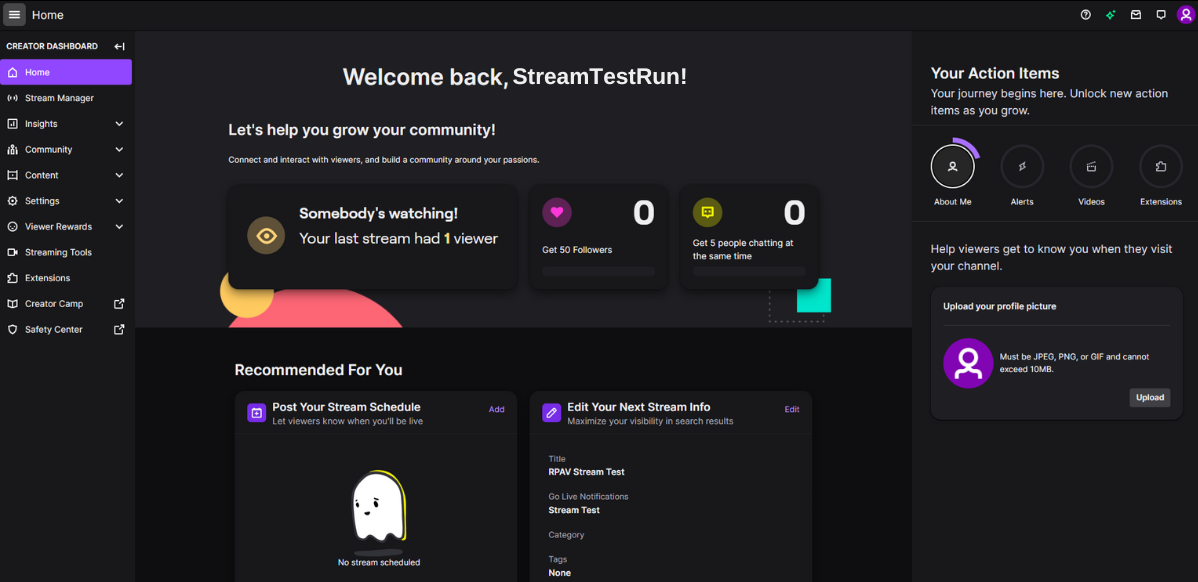
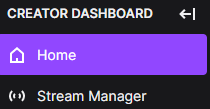
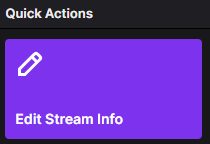
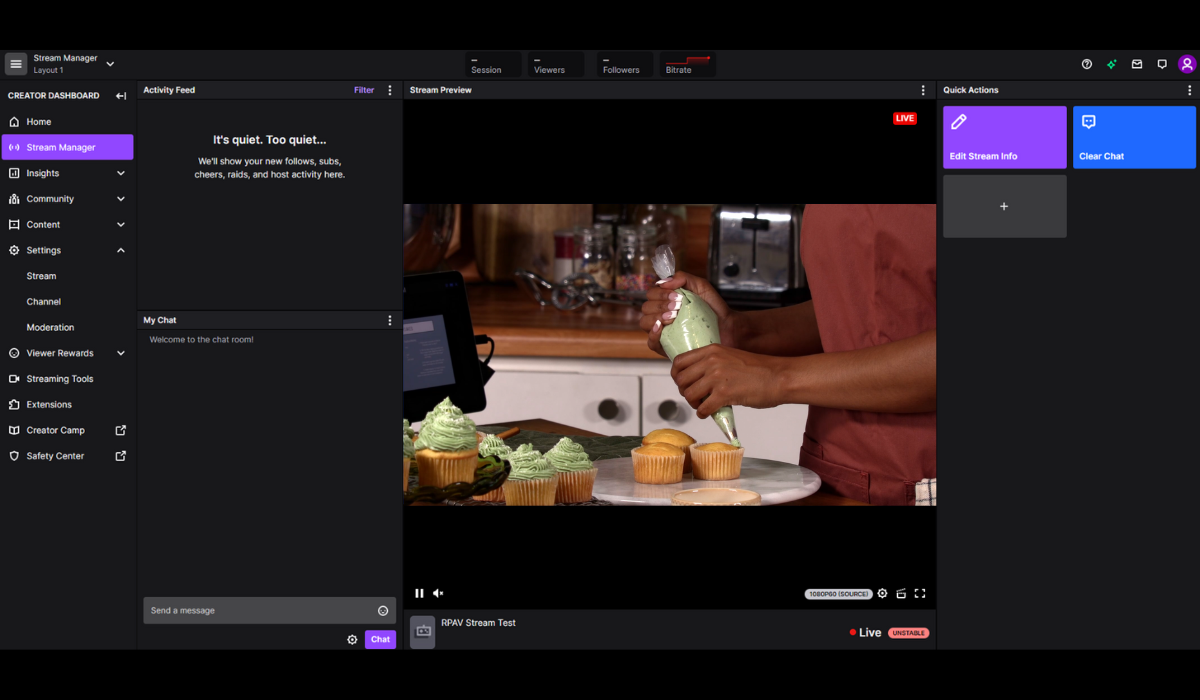
STEP 3: Click “Stream Manager” in the left panel, and then click “Edit Stream Info” in the right panel.
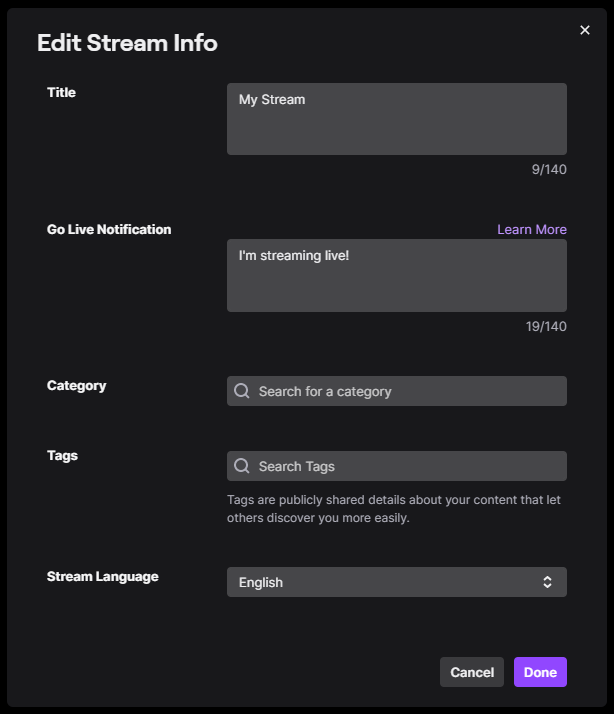
STEP 4: Add a title for your stream like “Janet’s Cooking Show Episode #1” or “Darryl’s Garage June.”
Roland Live Streamer Setup
Roland Live Streamer is a free software solution for streaming video using compatible Roland video products. Note that Roland Live Streamer is currently for Windows only and does not support third party hardware. The software works with the following Roland products:
- V-02HD MK II
- V-160HD
- VC-100UHD
- VR-1HD
- VR-4HD
- VR-50HD
- VR-50HD MK II
- UVC-01
- UVC-02
The following steps will walk you through setting up Roland Live Streamer for streaming to Twitch.
- STEP 1: In a new browser tab, go to stream.twitch.tv/ingests.
[Note: Twitch no longer lists the stream URL in the Creator Dashboard.]
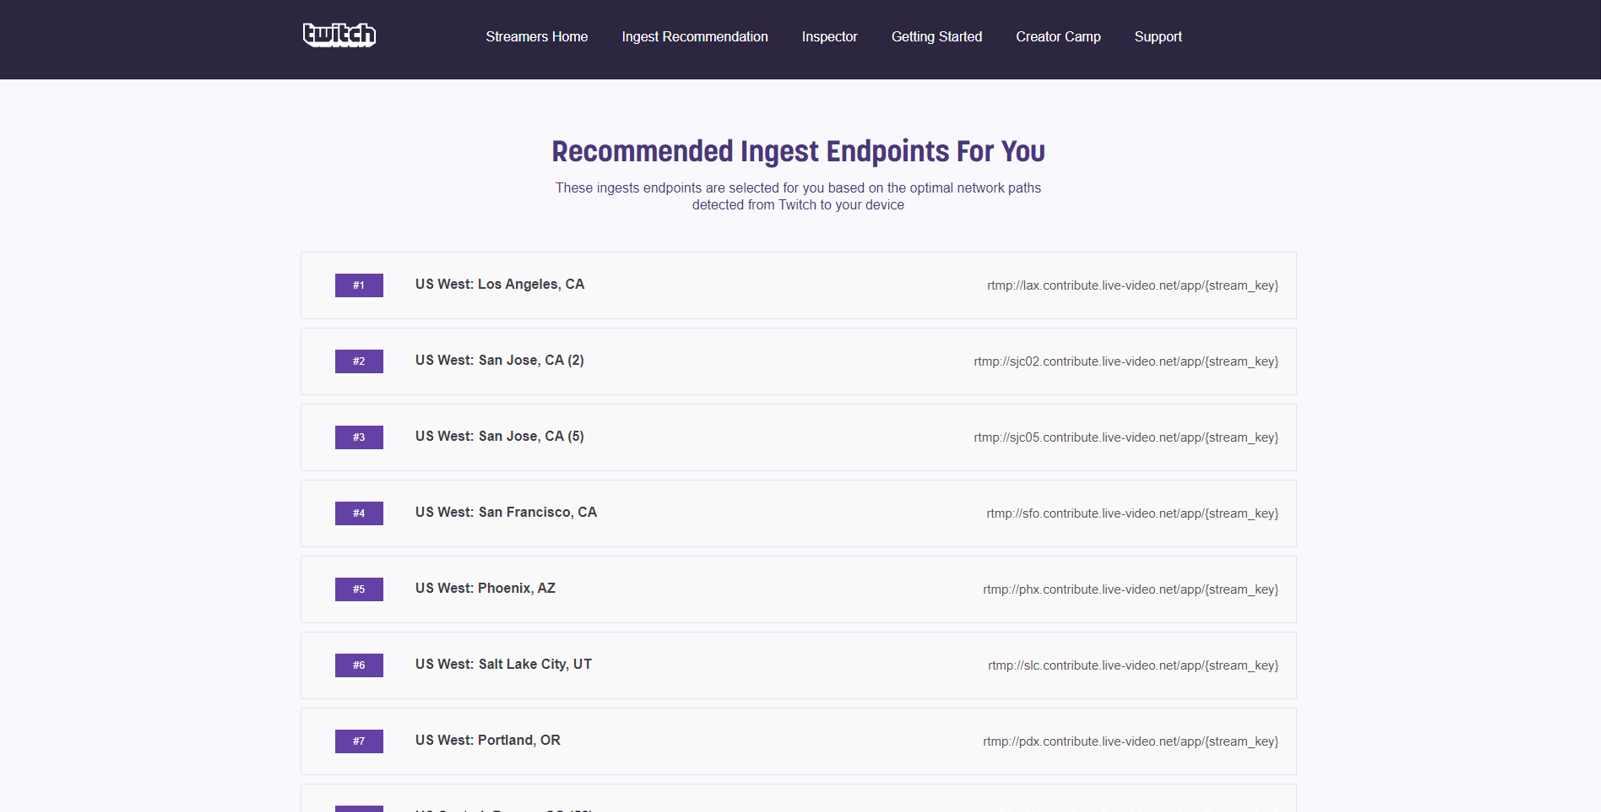
STEP 2: Select and Copy (Ctrl+C/Cmd+C) the URL of the location closest to you. Copy from “RTMP” to “app/”
[Note: Do not copy “{stream_key}”]

- STEP 3: Open Roland Live Streamer. Next to “Server URL,” click “Paste.”
[Note: Roland Live Streamer is for Windows only.]
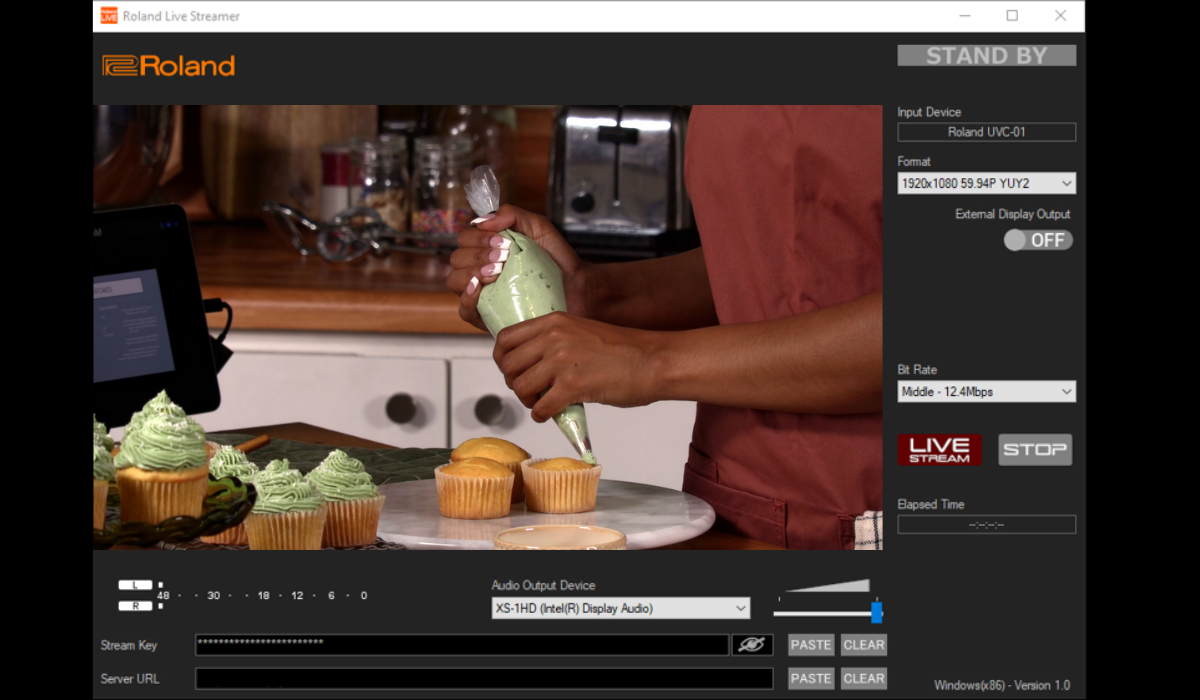
STEP 4: Return to the Creator Dashboard. Once there, click “Settings,” click “Stream.” Next to Primary Stream Key, click “Copy.”


STEP 5: Return to Roland Live Streamer. Next to Stream Key, click “Paste.” Then click “Live Stream.”


STEP 6: Go back to Creator Dashboard. Click “Stream Manager” to monitor your stream.
STEP 7: When you’ve finished livestreaming, return to Roland Live Streamer and click “Stop.”
For more information on the Roland Live Streamer app, consult the Advanced Guide: Roland Live Streamer: How to Set Up and Use this Free Software to Stream
OBS Studio Setup
OBS is a free, open-source software for Windows, Mac OS, and Linux with robust customizations to handle the most advanced streamers. Take a step-by-step walkthrough of setting up OBS studio for Twitch livestreaming.
[Note: This guide does not cover initial OBS setup.]
- STEP 1: First, open OBS Studio. (The application works on both Windows and Mac systems.)
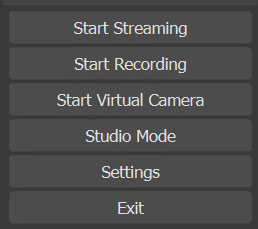
STEP 2: Next, click “Settings.” Then click “Stream.”
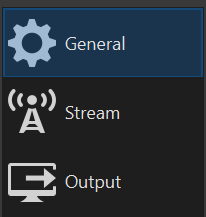
STEP 3: Click “Service” and select “Twitch.”

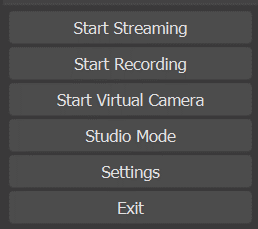
STEP 4: Click “Connect Account” and log in. Then click “OK” and click “Start Streaming.”
STEP 5: Return to Creator Dashboard. Click “Stream Manager” to monitor your stream
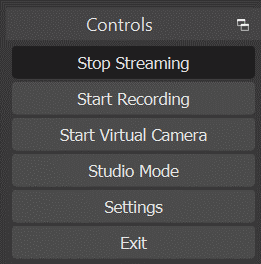
STEP 6: When you’ve finished livestreaming, return to OBS and click “Stop Streaming.”
For more information on OBS, consult this source: Roland Switchers: How to Customize Live Streams With OBS


